How to Fix a Leaky Faucet: Diagnose the Type First, Fix in 30 Minutes
Fix a dripping faucet yourself in 20-30 minutes. Identify your faucet type (compression, cartridge, ball, ceramic disc), what parts you actually need, and when to just replace the whole fixture.
Most "how to fix a leaky faucet" guides start with "turn off the water and unscrew the handle." That's fine advice if you already know what's inside your faucet. You probably don't. There are four completely different internal designs under American bathroom and kitchen faucets, and the fix for each is different.
This guide spends the first five minutes helping you figure out which one you have. Once you know, the actual fix takes 15 minutes and costs under $10. Get the type wrong and you'll spend 45 minutes disassembling a faucet and then drive back to Home Depot because the part doesn't fit.
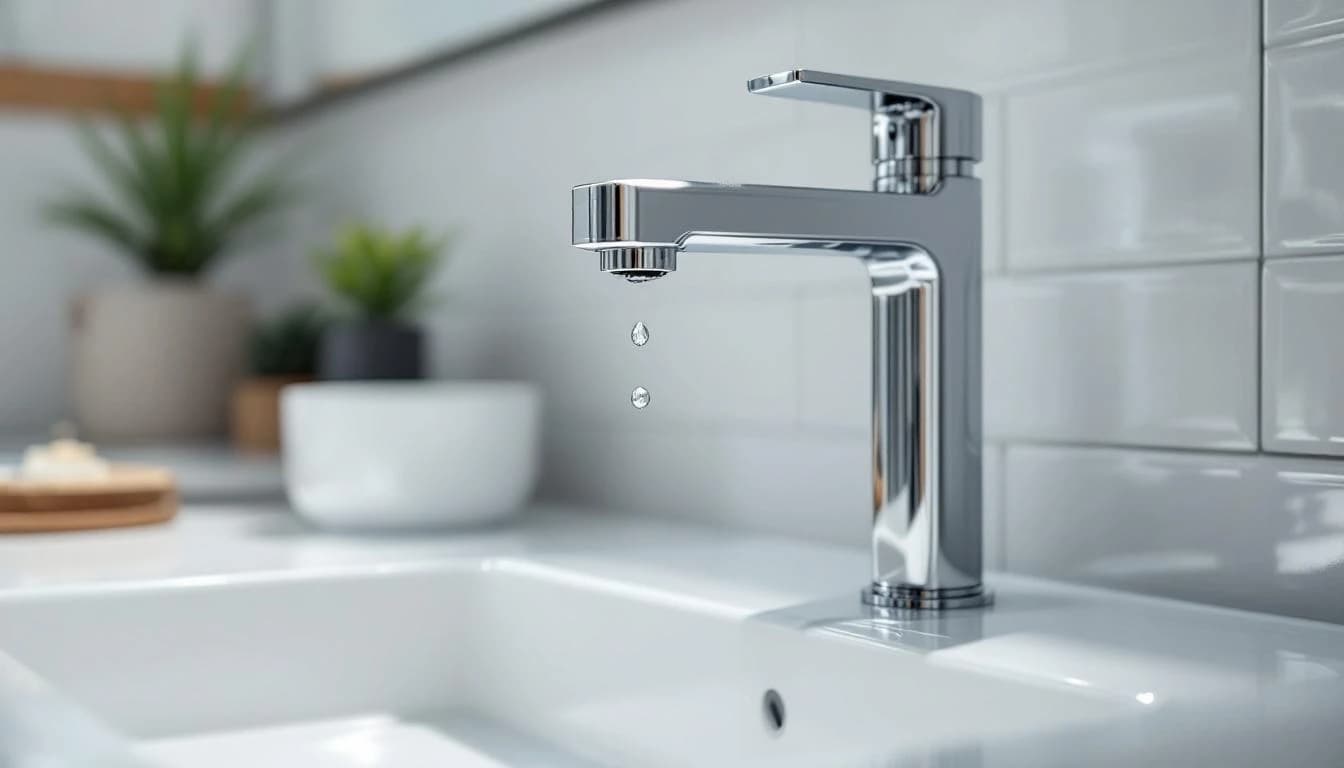
And yes — a leak is worth fixing. A single faucet dripping once per second wastes more than 3,000 gallons of water a year, or enough for 180 showers (US EPA, Fix a Leak Week). Nationwide, household leaks waste nearly 1 trillion gallons annually.
Step 1: Identify Which Type of Faucet You Have
Four types cover almost every residential faucet in the US. You can usually tell by looking at the handle(s).
| Faucet type | How you spot it | Era | Fix difficulty |
|---|---|---|---|
| Compression | Two handles, each turns multiple rotations, "closes" when tightened hard | Pre-1970s, still common in utility sinks | Easy — replace rubber washer |
| Cartridge | One or two handles, handle lifts/rotates smoothly ~90° | 1970s–now, most common modern design | Easy — replace cartridge |
| Ball | Single lever handle that tilts in all directions, often kitchen | Delta-style, 1950s–now | Medium — replace ball + springs + seats |
| Ceramic disc | Single lever handle, very smooth short action, often squared-off base | 1990s–now, premium faucets | Easy — replace disc cartridge |

If you have two handles that each screw down tight to shut off, it's compression. The fix is a $2 rubber washer.
If you have a single lever handle that lifts and swivels, it's either cartridge, ball, or ceramic disc. You can't tell from the outside which — but it doesn't matter at this stage, because all three require pulling the handle off to continue.
Brand matters more than type for parts. Moen, Delta, Kohler, Pfister, and American Standard each sell their own repair kits, and the generic "universal" kits at the hardware store are universal only in the marketing sense. Before you shop, find the brand name stamped on the handle, under a decorative cap, or on the spout.
What You'll Need
Tools
- Adjustable wrench or channel-lock pliers — for the packing nut under the handle
- Phillips #2 screwdriver and flathead screwdriver — handle setscrews and decorative caps
- Allen wrench set (hex keys) — many modern handles use a 3/32" or 1/8" setscrew hidden under a button
- Needle-nose pliers — for pulling cartridges
- Old towel — for the sink basin
- Phone camera — photo every step before you take it apart
Materials
- Brand-specific repair kit or cartridge — $5-$25 depending on faucet. Bring the old parts or the brand name to the store.
- Plumber's silicone grease — $4, makes rubber parts slide and seal properly. Do NOT substitute petroleum jelly or WD-40; they degrade rubber.
- Penetrating oil (like PB Blaster) — $5, only if your packing nut is frozen.
Total materials: $3-$25. A plumber charges $125-$250 for the same repair.
Step 2: Shut Off the Water and Open the Faucet
Under your sink, you'll find two small shut-off valves on the hot and cold supply lines. Turn both clockwise until they stop. If the valves are stuck or missing, shut off the main house valve (usually near the water meter, basement, or garage wall).
Turn the faucet on after shutting off. If water still flows, you turned the wrong valve or you have a partial shut-off — keep closing valves until the faucet runs dry. Leave the faucet open; it depressurizes the line and keeps parts from flying when you disassemble.
Plug the drain with the stopper or a rag. Small screws and rubber O-rings fall in. Not a joke.
Step 3: Remove the Handle (This Is Where Most People Get Stuck)
The handle is held on by a screw, but that screw is almost always hidden. Look for:
- A decorative cap on top (H/C marking, manufacturer logo, or color disc) — pry it off gently with a flathead screwdriver or your fingernail. The screw is underneath.
- A small hole on the side/back of the handle — this is a hex setscrew. Use an Allen wrench (usually 3/32" or 1/8") and turn counterclockwise to loosen, but don't remove it fully. Once loose, the handle pulls straight up.
- Nothing visible — some older handles are press-fit and pull straight up with firm upward pressure. Wiggle side-to-side while pulling.
If the handle won't budge after removing the screw, it's corrosion-welded to the stem. Pour penetrating oil down the stem, wait 20 minutes, try again. Don't pry with a screwdriver — you'll crack the ceramic or damage the body.
Under the handle is a packing nut or retaining clip — this is what holds the guts of the faucet in. Now we branch by faucet type.
Step 4 — For Compression Faucets: Replace the Washer
- Use an adjustable wrench to unscrew the packing nut (counterclockwise).
- Lift out the valve stem. At the bottom is a small rubber washer held on by a brass screw.
- Replace the washer with an identical-size one from your assortment kit. Size matters — too small and it leaks; too large and it won't seat.
- While you're in there, inspect the brass valve seat at the bottom of the faucet body. If it's pitted or rough, that's your leak source — use a "valve seat dresser" (a $10 tool) to smooth it, or replace the seat if it's removable.
- Reassemble in reverse.
Total time: 15 minutes. Total cost: $2 for the washer, $10 if you need a seat dresser.
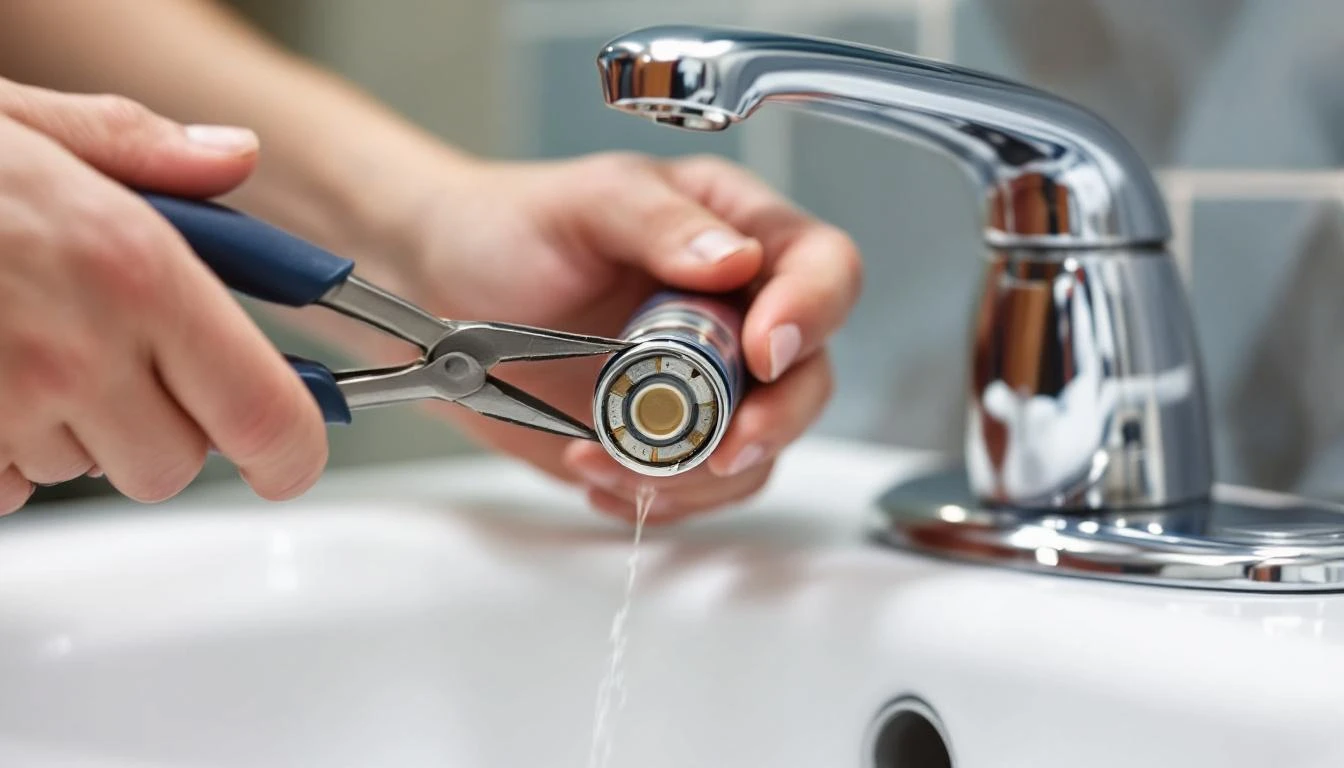
Step 4 — For Cartridge, Ball, or Ceramic Disc Faucets: Replace the Cartridge
-
Under the handle you'll see a brass retaining clip (U-shaped) or a threaded retaining nut. Pull the clip out with needle-nose pliers, or unscrew the nut with channel-locks.
-
The cartridge is now held only by water pressure and friction. Pull straight up firmly with pliers gripping the top of the cartridge. If it won't come out, there's a specialized "cartridge puller" tool ($15) that threads in and pops it loose — worth buying for stubborn Moen cartridges.
-
Take the old cartridge to the hardware store. Buy the exact replacement by brand and model. "Looks like" is not a match.
-
Lubricate the new cartridge O-rings with silicone plumber's grease. Skip the grease and they'll leak within a week.
-
Insert the new cartridge with the same orientation as the old one — there's usually a small tab, notch, or flat spot on the side that keys into the faucet body. If you put it in 180° off, the hot and cold will be reversed.
-
Replace the retaining clip or nut, reinstall the handle, turn the water back on slowly.
Total time: 20-25 minutes. Total cost: $8-$25 for the cartridge.
Step 5: Turn Water On Slowly and Test
Open the under-sink shut-off valves slowly — about a quarter turn at first. Fast pressurization can blow out a marginally-seated cartridge. Watch the faucet from the side while you do this.
Check for drips:
- Still dripping from the spout? Cartridge isn't seated correctly, or the new washer is the wrong size. Shut off, disassemble, re-seat.
- Leaking around the base of the handle? The O-ring on the cartridge stem is pinched or missing. Replace it.
- Leaking under the sink at the supply line? Supply nut not tight enough, or compression fitting is tired. Snug it with a wrench — but don't gorilla-tighten; plastic nuts crack.
- No leaks? Handle moves smoothly? Done. Put everything back together.
Pro Tips (The Parts Tutorials Leave Out)
- Take a photo before you pull anything. Modern faucets have 6-10 small parts in a specific order. The phone-camera step has saved me on dozens of jobs.
- Plug the drain. I'll say it again because people skip it and then retrieve O-rings from the P-trap 20 minutes later.
- Don't reuse old O-rings "to save money." They've taken the shape of the old cartridge. New $0.50 ring now beats a callback in three weeks.
- Silicone plumber's grease only. Petroleum jelly and WD-40 will dissolve rubber O-rings over 6-12 months and create a worse leak.
- Hard water zones: expect calcified parts. If you have hard water (most of the US west of the Mississippi), the cartridge may be crusted into the valve body. Soak with white vinegar for 10 minutes before pulling; don't yank hard or you'll strip the plastic.
Common Mistakes Plumbers See
- Wrong-brand cartridge. Delta cartridges look a lot like Moen cartridges from across a hardware store aisle. They don't fit each other. Take the old part.
- Over-tightened packing nut. People crank it to stop the leak, which crushes the washer further and makes it worse. Snug + quarter-turn is all you need.
- Installing the cartridge reversed. Hot and cold get swapped. Fun on winter mornings.
- Ignoring the valve seat. If the brass seat the washer presses against is pitted, no new washer will seal against it. You'll be back under the sink in a month.
- Skipping silicone grease. Dry O-rings tear on installation. You won't see it until you turn the water back on.
When to Replace the Whole Faucet Instead
Repair is not always the right answer. Skip the repair and buy a new faucet if any of these are true:
- Faucet is 15+ years old
- Off-brand (no identifiable manufacturer stamp)
- Base of the faucet wiggles or leaks from under the deck plate
- Green corrosion visible on the chrome, or pitting in the spout
- You've already replaced the cartridge once in the last 3 years
- Handles, trim, or spout are cosmetically tired and you want a refresh anyway
A mid-range kitchen faucet runs $80-$200, a bathroom faucet $60-$150. The installation takes 30-45 minutes — only slightly longer than a repair, and you get a 5-year warranty and new shut-off flex lines in the box.
Cost Reality Check
| Option | Parts cost | Labor | Total |
|---|---|---|---|
| DIY washer replacement | $2–$5 | Your 20 min | $2–$5 |
| DIY cartridge replacement | $8–$25 | Your 30 min | $8–$25 |
| DIY full faucet replacement | $80–$200 | Your 45 min | $80–$200 |
| Handyman — cartridge swap | $10–$25 | $75–$150 | $85–$175 |
| Plumber — cartridge swap | $10–$25 | $125–$250 | $135–$275 |
| Plumber — full faucet install | $80–$200 | $150–$350 | $230–$550 |
Labor ranges pulled from HomeAdvisor's faucet repair cost guide and Fixr's plumbing rates, 2025 averages. Urban areas and emergency calls run higher.
When to Call a Professional Instead
Stop and hire someone if:
- Shut-off valves under the sink are seized and won't turn
- You have a leak coming from inside the wall (not the faucet) — this is a supply line or valve behind drywall and not a DIY job
- Water is dripping into the cabinet below, and the cabinet floor is soft or moldy — you have a secondary damage problem
- Faucet is wall-mounted with tile around it (tub/shower valves) — a different class of repair
- You've disassembled the faucet and can't identify the cartridge or get parts for it
None of those apply? You're looking at a 30-minute job. Go do it.
Any of them apply? Find a handyman near you — a $100 service call beats opening drywall later.
One Last Thing
A dripping faucet is almost always the cheapest DIY win in your house. It's under $10, under 30 minutes, and the first time you do it you'll wonder why you let it drip for six months. The EPA estimates 9% of American homes have leaks that waste 50+ gallons per day — and most of them are single fixtures exactly like yours.
If you got stuck on "which type do I have" or the handle won't come off, you're not alone. Find a handyman →
Frequently Asked Questions
Should I fix a leaky faucet or just replace the whole faucet?
If the faucet is under 10 years old and a name brand (Moen, Delta, Kohler, Pfister, American Standard), fix it — parts are cheap and usually available. If the faucet is older than 15 years, off-brand, or corroded at the base, replace the whole thing. A new mid-range kitchen or bathroom faucet runs $80-$200, and you'll spend 45 minutes installing it either way. Don't waste three trips to the hardware store chasing parts for a $30 faucet.
Why is my faucet leaking after I replaced the cartridge?
Three common causes: (1) you didn't seat the new cartridge fully — it needs to click into the keyed position at the bottom of the valve body; (2) the O-rings on the cartridge got pinched or twisted during install — pull it, re-lubricate with silicone plumber's grease, and re-seat; (3) the valve seat inside the faucet body is corroded or scratched and no cartridge will seal against it — time to replace the faucet. If the leak is now coming from under the base instead of the spout, you have a different problem (supply line or baseplate gasket).
Do I need to turn off the water to the whole house?
No. Under your sink you'll find two small shut-off valves on the supply lines (one for hot, one for cold) — turn both clockwise until they stop. If those valves are stuck, corroded, or missing, shut off water at the main house valve (usually in the basement, garage, or near the water meter). Turn the faucet on after shutting off to drain the line and confirm water is actually off before disassembling.
How much does a plumber charge to fix a leaky faucet?
Most plumbers charge $125-$250 for a basic faucet repair, reflecting a 1-hour minimum service fee plus parts. A handyman typically charges $75-$150 for the same job. If the faucet needs full replacement instead of a cartridge swap, expect $150-$350 labor for a standard installation. Prices vary significantly by region — urban areas run 30-50% higher. Hire a [handyman near you](/handyman-services) if you'd rather not DIY.
Why is my faucet dripping worse now that I 'fixed' it?
You probably installed a washer or cartridge that doesn't match your faucet exactly, or you over-tightened the packing nut and damaged the new part. Faucet parts are faucet-specific — a 'universal' cartridge rarely is. Take the old part (or the full faucet brand/model) to the store, or order the exact replacement online. If you can't identify the brand, look for a logo on the handle base, under a decorative cap, or stamped on the spout.
Is a dripping faucet really a big deal?
Yes. According to the US EPA, a faucet dripping at the rate of one drop per second wastes more than 3,000 gallons of water per year — enough for 180 showers. Across the country, household leaks waste nearly 1 trillion gallons annually. It's also a warning sign: the drip means water is finding a path it shouldn't, and the same failure mode often shows up 6-12 months later as a bigger leak inside the vanity or wall.
Your skills deserve to be seen.
Join handymen who use HandymanCan to get found by local clients — completely free.
No credit card. No catch. Takes 5 minutes.
Related Articles
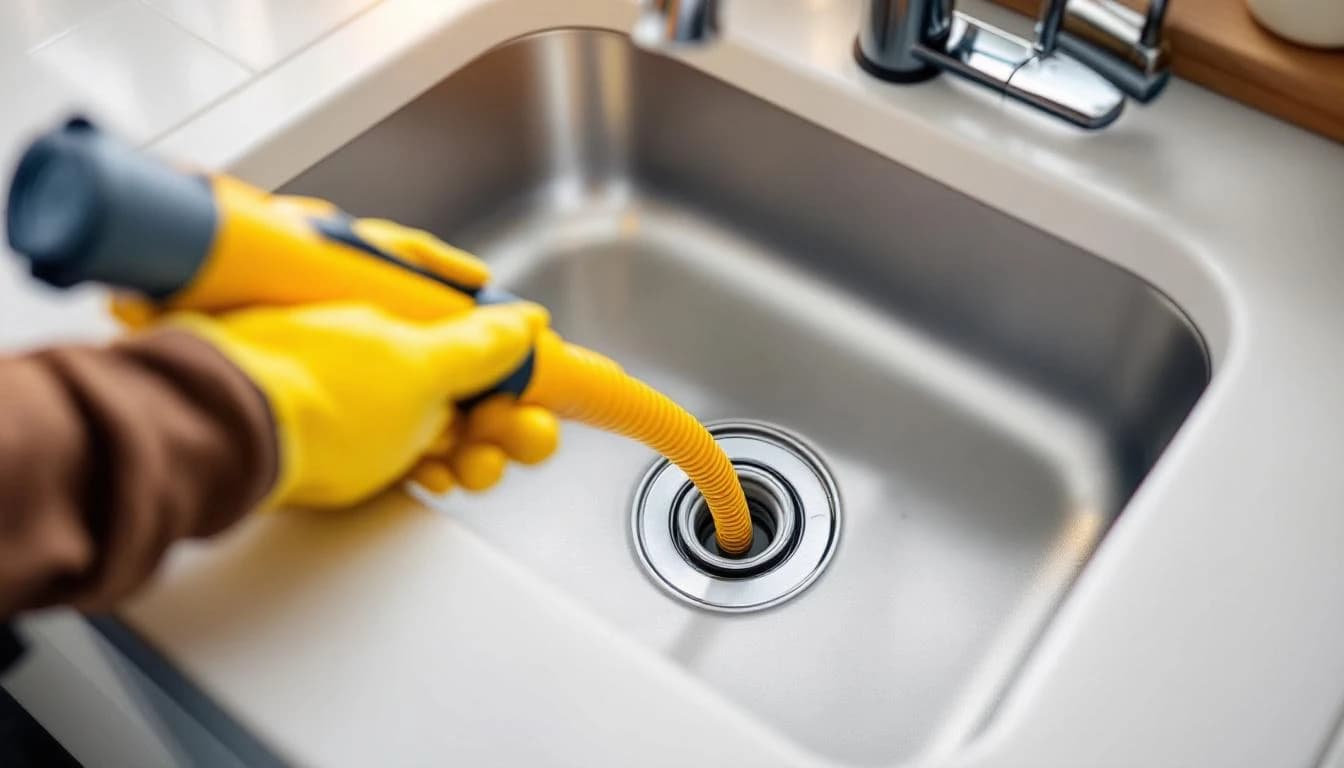
How to Unclog a Drain: The Safe Order of Operations (2026)
Unclog a kitchen, bathroom, or shower drain without chemicals in most cases. Plunger, baking soda, snake, P-trap — plus the drain cleaner safety rules the bottle doesn't mention.
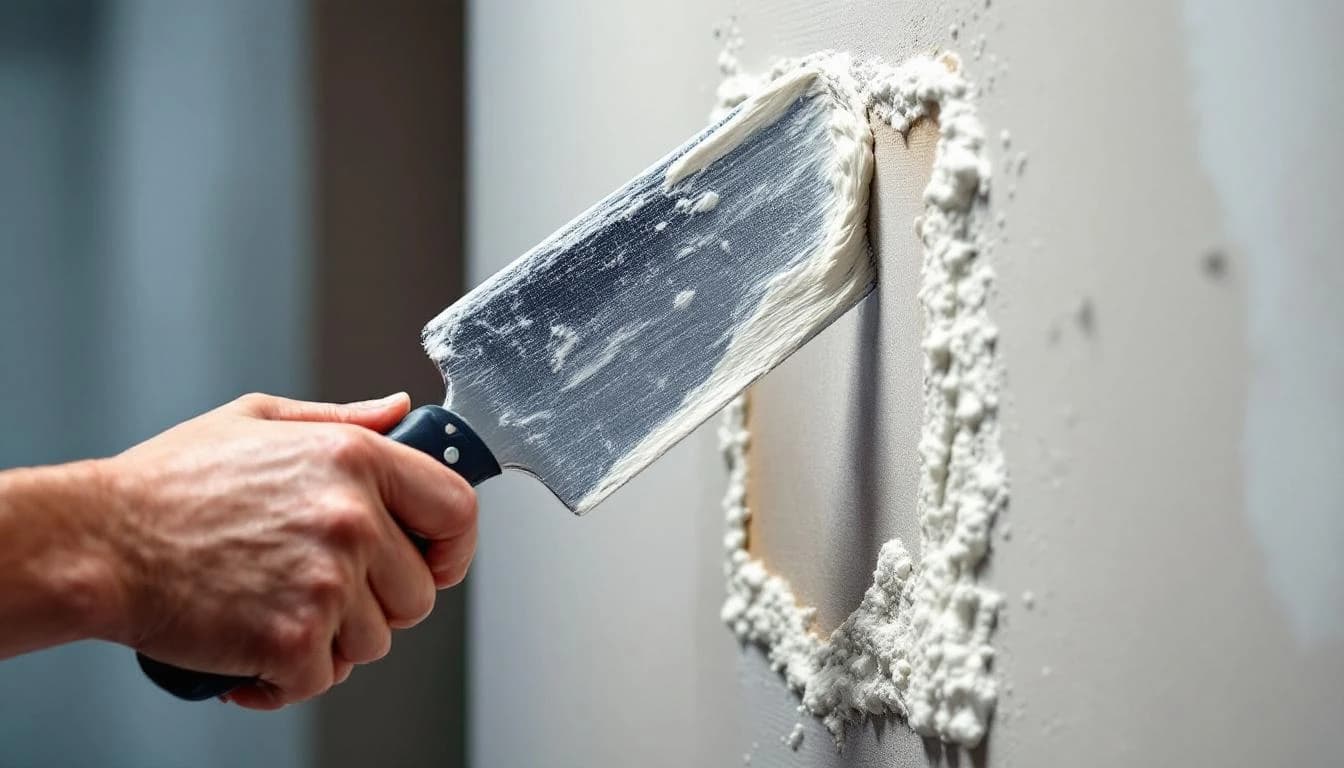
How to Patch a Hole in Drywall: Small, Medium, and Fist-Sized Fixes
Patch any drywall hole — from nail pops to a doorknob-sized crater — in under 2 hours. The right method for each hole size, the tools that matter, and how to make the patch invisible after paint.
How to Install Laminate Flooring: A Realistic Weekend DIY Guide
Install laminate flooring yourself in 1-2 days for a 200 sq ft room. Subfloor prep, underlayment, click-lock planking, expansion gaps, and trim reinstall — plus what to check before you buy for indoor air safety.