How to Install Laminate Flooring: A Realistic Weekend DIY Guide
Install laminate flooring yourself in 1-2 days for a 200 sq ft room. Subfloor prep, underlayment, click-lock planking, expansion gaps, and trim reinstall — plus what to check before you buy for indoor air safety.
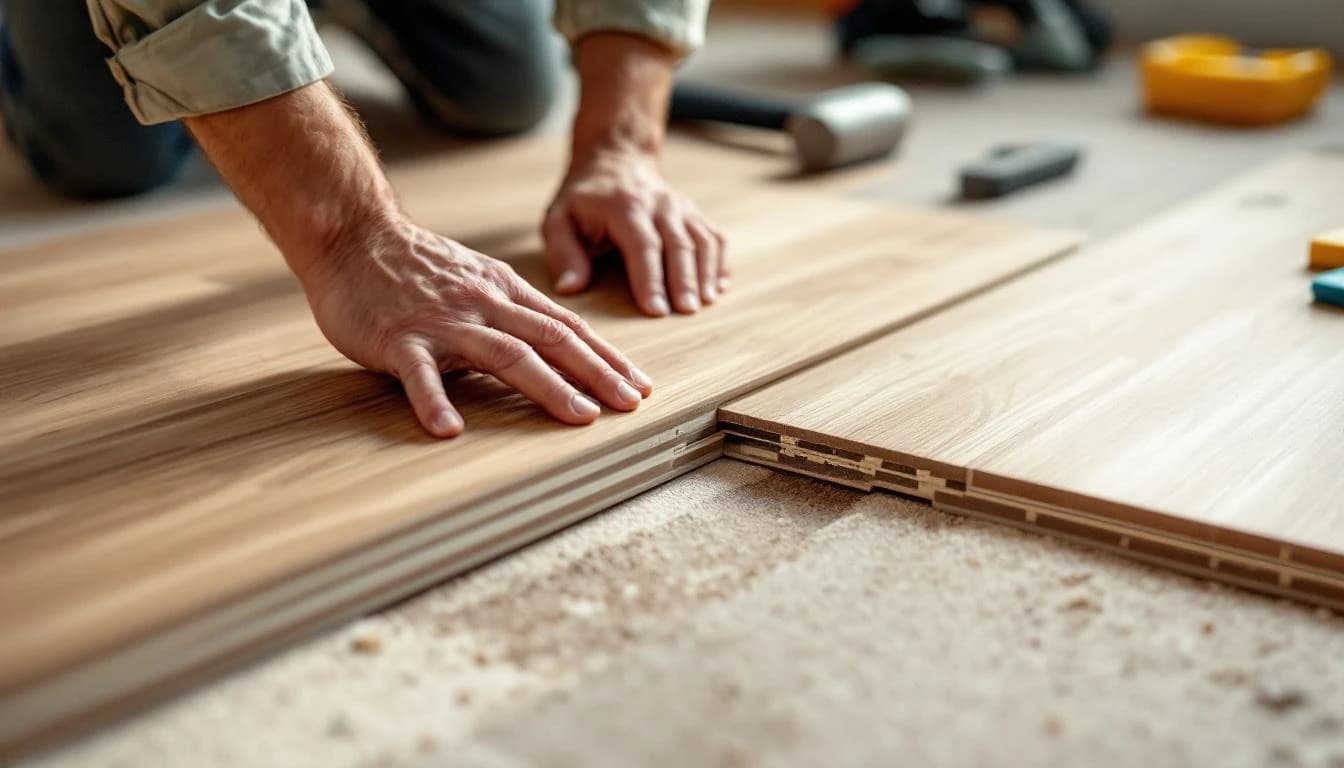
Laminate flooring is the single most DIY-friendly floor material ever made. Click-lock planks, no glue, no nails, no wet mortar — you're snapping together oversized puzzle pieces. A 200 sq ft bedroom is a realistic weekend project for someone who's never installed flooring before.
That said, the result depends entirely on two things: the flatness of your subfloor (get this wrong and the floor will creak and separate within a year) and the discipline to leave proper expansion gaps (get this wrong and the floor will buckle the first time humidity changes). Both are free to get right if you take them seriously.
There's also one thing to check before you buy — your flooring's air-quality compliance. We'll cover that in 90 seconds and then get to the installation.
Before You Buy: Verify TSCA Title VI Compliance
Laminate flooring is made with a pressed-wood core (usually HDF or particleboard) bonded with formaldehyde-based resin. That resin off-gases into your home air.
Since June 2018, the US EPA TSCA Title VI standards set legal emission limits on composite wood products sold in the US:
| Composite wood type | Max formaldehyde emission |
|---|---|
| Hardwood plywood (veneer or composite core) | 0.05 ppm |
| Particleboard | 0.09 ppm |
| Medium-density fiberboard (MDF) | 0.11 ppm |
| Thin MDF | 0.13 ppm |
The core used in most laminate flooring is HDF or particleboard, so 0.09 ppm is the relevant limit. Look for the TSCA Title VI compliance label on the product box.
Historical context: In 2016, the CDC/ATSDR issued a revised health assessment on Chinese-made Lumber Liquidators laminate flooring sold 2011-2015, estimating between 6 and 30 additional cancer cases per 100,000 people with long-term exposure, plus irritation and breathing problems in anyone exposed. The product was subject to a CPSC "recall to test" program. Since then, TSCA Title VI has tightened compliance significantly, and laminate from major US retailers (Home Depot, Lowe's, Floor & Decor) is compliant. Buying from those channels is your single simplest safety check.
Follow the EPA's guidance: ventilate your home during and after installation, since any pressed-wood product emits some level of formaldehyde, and levels are highest in the first 2-4 weeks after install.
OK — now to the actual installation.
Step 1: Measure and Order Flooring
- Measure length × width of the room in feet. Multiply for square footage.
- Add 10-15% for waste (15-20% if the room has angles, diagonals, or is narrow like a hallway).
- Buy all boxes from the same production lot number (on the box) — different lots can have subtle color variation.
- Let boxes sit unopened in the room for 48 hours before installing. This lets the planks acclimate to your home's humidity and prevents post-install gaps or buckling.
Skip the 48-hour acclimation at your peril. This is the #1 invisible mistake I see on DIY laminate. The floor looks fine on day 1 and develops separation gaps 3 weeks later.
What You'll Need
Tools
- Tape measure and pencil
- Carpenter square or speed square — for square cuts
- Jigsaw ($40-$80 if you don't have one) — for cuts around door frames, vents, pipes
- Laminate cutter OR miter saw — for straight cross-cuts. Laminate cutters ($50, shear-action, no dust) are worth it for one project. Miter saws are faster if you already own one.
- Rubber mallet — to tap planks tight without damaging edges
- Tapping block (plastic or wood) — protects plank edges from mallet damage, usually sold in DIY kits
- Pull bar — to pull the last-row planks tight against the previous row
- 1/4" or 3/8" spacers — for expansion gaps around the perimeter. Sold as wedge-shaped plastic spacers in kits ($10); scrap wood works too.
- Utility knife and floor scraper — for subfloor prep
Materials
- Laminate planks — $1-$4 per sq ft. Entry-level "basic" laminate is $1/sq ft; high-end waterproof laminate with realistic textures is $3-$4/sq ft.
- Underlayment (if not pre-attached) — $0.30-$0.60/sq ft
- Vapor barrier (for basement / below-grade installs only) — 6-mil polyethylene, $50 per roll
- Transition strips — for doorways between rooms, $10-$25 each
- Quarter-round or shoe molding — if not removing baseboards, $1-$2 per linear foot
Total for 200 sq ft room: $400-$1,200 depending on laminate grade. Pro install for the same room runs $600-$1,800.
Step 2: Prep the Subfloor (The Part Everyone Rushes)
This is 60% of the whole job and the reason some DIY floors feel pro and some feel like you're walking on bubble wrap.
Check for flatness
- Lay a 6-8 foot straight edge (long level or a straight 2×4) across the subfloor in multiple directions
- If you can slide a 3/16" shim under the straight edge anywhere, that spot is too uneven and must be leveled
- For plywood subfloors: sand down high spots with a belt sander; fill low spots with floor-patching compound
- For concrete slabs: use self-leveling compound ($25/bag, covers ~50 sq ft)
Check for moisture (concrete slabs only)
Tape a 2×2 foot plastic sheet to the slab on all four edges. Leave 48 hours. If condensation appears underneath, you have moisture migration and cannot install laminate without a proper vapor barrier (or at all, depending on severity).
Clean everything
Sweep, vacuum, scrape up any paint drips, old adhesive, or nails. Even a 3/16" bump will feel like a rock under the finished floor.
Remove baseboards (optional but cleaner finish)
Use a pry bar and putty knife. Score the caulk line first with a utility knife so the paint doesn't tear. Number the back of each piece so you can reinstall in the same order.
Step 3: Lay the Underlayment
Roll out the underlayment foam, seam-to-seam without overlapping. Tape the seams with underlayment tape or duct tape. Extend it 1-2 inches up each wall — you'll trim flush later. For below-grade concrete, lay 6-mil polyethylene vapor barrier first, then underlayment on top.
If your laminate has pre-attached underlayment, skip this step and go straight to plank installation.
Step 4: Plan Your First Row
Flooring direction matters. Generally:
- Parallel to the longest wall — makes the room feel larger
- Parallel to the primary light source — hides seams in the shadow direction
- Perpendicular to floor joists (in upstairs rooms) — provides the most structural rigidity
Measure the room's width perpendicular to your planned direction. Divide by plank width. If the last row will be less than 2" wide, rip the first row planks to make both first and last rows roughly equal width. Tiny final rows look amateur and are structurally weaker.
Step 5: Install the First Row
- Place 1/4" to 3/8" spacers between the first planks and the wall (expansion gap — critical). Typical manufacturer specs call for 1/4" to 3/8" all the way around; check your specific product's instructions.
- Install the first plank with the tongue side facing the wall (spacers go against the tongue edge). The groove side faces out, ready to receive the next plank.
- Click the next plank's end-joint into the first plank's end-joint (short edge). Lay it flat.
- Continue along the wall. Cut the last plank to fit, leaving the 1/4"+ expansion gap at the end.
- Use the offcut to start the next row — this staggers the end joints naturally.
Step 6: Staggering and the "Random" Pattern
End joints on adjacent rows must be staggered at least 8-12 inches apart. This is both cosmetic and structural — stacked joints look fake and crack over time.

The simplest staggering pattern:
- Row 1: starts with a full plank
- Row 2: starts with a 2/3 plank
- Row 3: starts with a 1/3 plank
- Row 4: starts with a full plank (same as row 1)
- Repeat
This gives a clean random-looking pattern with no waste — you'll use most of the cut-offs in other rows.
Step 7: Click and Tap Each Plank
Click-lock laminate uses one of two locking mechanisms (you'll know which after one plank):
- Angle-and-press: slide the tongue into the groove at a 20-30° angle, then press down flat
- Drop-lock: lay the plank flat, tap it horizontally into the previous row with a tapping block and mallet
For both, the critical rule: never hit the plank directly with a mallet. Always use a tapping block or a scrap piece of laminate. Direct mallet hits chip the edges permanently.
Check every few planks that the joints are flush (no raised edges). If one plank is slightly lifted, the next row will be worse, then worse — catch it early.
Step 8: Cut Around Obstacles
- Door frames: undercut the door jamb with a pull saw so the plank slides underneath. Lay a scrap plank on top of your underlayment to set the blade height.
- Vents and pipes: measure, mark, drill a hole slightly larger than the pipe, cut a slot from the edge of the plank to the hole. Install, then glue a small piece of cut-out back in to close the slot.
- Odd angles: measure with a cardboard template first, then trace onto the plank and cut with a jigsaw.
Step 9: Last Row — Cut and Pull Into Place
The last row rarely fits a full plank width. Measure the remaining gap (minus expansion gap), rip the planks to fit with a table saw or circular saw.
Use the pull bar (or a pry bar against the wall with a shim protecting drywall) to pull the last row tight into the second-to-last row. Click-lock joints need downward pressure and pull force simultaneously — a pull bar gives you that.
Step 10: Reinstall Baseboards or Install Quarter-Round
If you removed baseboards, remove the spacers and reinstall in original positions. Baseboards should sit on top of the flooring (not push it down) to preserve the expansion space.
If you left baseboards in place, nail quarter-round or shoe molding to the baseboard (not the floor — the floor needs to float and move with humidity changes).
Caulk any gaps between trim and wall with paintable latex caulk. Touch up paint.
Pro Tips Pros See Homeowners Skip
- 48 hours of acclimation before installation, in the actual room. Not the garage, not the hallway. The actual room.
- Expansion gap at every vertical surface, including kitchen cabinet bases, pipe chases, and door frames. Anywhere the floor meets a hard surface. Forget one and that's where the floor will buckle.
- Don't glue floating floors down, even the "tricky" spots. The whole system relies on the floor floating as one piece. Glue creates a stress point and the first humidity swing pops a joint elsewhere.
- Keep one full carton of leftover planks. Laminate colors and styles get discontinued fast. Future repairs will need matching planks you can't buy anymore.
- Clean as you go. Dust under a plank in row 5 will make it rock for the life of the floor. Vacuum between rows.
Common Mistakes
- No expansion gap. Floor looks fine, then buckles mid-summer when humidity spikes. Non-fixable without pulling the whole floor.
- Stacked end joints. Planks in a row start at the same point as the row below — creates a visible "ladder" pattern and structural weakness.
- Uneven subfloor. Every high/low spot telegraphs up through the laminate. Planks feel hollow or rock under foot.
- Hammering planks directly. Chipped edges you'll see forever.
- Skipping underlayment because "the laminate is thick enough." No, it isn't. Noise transmission, cushioning, and moisture barrier all matter.
Cost Reality Check
| Approach | Material | Labor | Total for 200 sq ft |
|---|---|---|---|
| DIY — basic laminate ($1/sq ft) | $200 + $50 supplies | Your weekend | $250 |
| DIY — premium laminate ($3/sq ft) | $600 + $100 supplies | Your weekend | $700 |
| Handyman install (you supply laminate) | $300 avg | $200–$600 | $500–$900 |
| Flooring contractor full install | $400–$800 | $400–$1,000 | $800–$1,800 |
Labor ranges from HomeAdvisor laminate flooring cost guide and Fixr, 2025 averages. Basement installs and complex room shapes add 25-50%.
When to Call a Professional Instead
Skip DIY if:
- Subfloor is uneven by more than 3/16" over 10 ft and you don't have experience with self-leveling compound
- Room has concrete slab with moisture issues (needs a specialist call)
- You're installing over 500+ sq ft at once — the physical labor adds up fast
- Multiple rooms with transitions through doorways — transition strip work is fiddly
- You have radiant heating in the slab — some laminate is incompatible
- Old home with significantly out-of-square walls — diagonal cuts accumulate error
A handyman at $1-$3/sq ft labor is a great middle ground: you supply the laminate (saving on contractor markup) and get the subfloor prep and installation done right.
None of that applies? Block out a weekend and go.
Some of it does? Find a handyman near you →
One Last Thing
The hardest part of laminate flooring is the part before you open the first box. A flat, clean, moisture-free subfloor with 48 hours of plank acclimation makes everything else almost trivial. A rushed prep guarantees a squeaky, gap-prone floor within 12 months regardless of how carefully you clicked the planks.
If you got through Step 2 (subfloor check) and realized you're looking at significant leveling work, that's a legitimate moment to get quotes. Leveling compound is messy and unforgiving on your first try. Find a handyman →
Frequently Asked Questions
How much laminate flooring do I need to buy for a 200 sq ft room?
Buy 10-15% more than the room's actual square footage to account for waste from cuts, pattern-matching, and inevitable mistakes on your first few rows. For a 200 sq ft room, buy 220-230 sq ft of flooring. If the room has angles, diagonals, or is narrow (like a hallway), buy 15-20% extra. Save any leftover planks — laminate brands and colors get discontinued fast, and you'll want backup for repairs.
Do I need to remove the baseboards before installing laminate?
It depends on the finish you want. Removing and reinstalling baseboards hides the expansion gap perfectly and looks cleaner. Leaving baseboards and covering the gap with quarter-round or shoe molding is faster (30 minutes vs 3 hours) but looks slightly less clean. For rooms with expensive trim or crown detail, remove; for rental properties and simple ranch-style homes, quarter-round is fine.
What goes under laminate flooring?
Underlayment — a thin foam pad (2-3mm) that goes between the subfloor and the laminate. It cushions footsteps, dampens sound, and provides a small moisture barrier. Most laminate these days comes with underlayment attached — check the packaging. If not, buy separate underlayment ($0.30-$0.60 per sq ft). For below-grade installations (basement), use a 6-mil polyethylene vapor barrier under the underlayment to block moisture from the concrete.
Can I install laminate over existing flooring?
Over most hard surfaces, yes — vinyl, tile, hardwood, linoleum. The existing floor needs to be flat, clean, and well-adhered. You cannot install laminate over carpet or over any floor that's cushioned, uneven by more than 3/16 inch over 10 feet, or on a concrete slab with visible moisture. Test a concrete slab for moisture by taping a 2x2 foot plastic sheet down for 48 hours — if condensation appears underneath, you have moisture issues and need a sealer or a different flooring.
How is the formaldehyde risk from laminate flooring? Is it safe?
Modern laminate flooring sold in the US must meet EPA TSCA Title VI standards for formaldehyde emissions from composite wood cores. For particleboard (the common core for laminate), the limit is 0.09 ppm; for hardwood plywood, 0.05 ppm. These limits have been mandatory since 2018. Buy from major retailers (Home Depot, Lowe's, Floor & Decor) who verify supplier compliance. The 2016 CDC/ATSDR health assessment on Chinese-made Lumber Liquidators laminate estimated an additional cancer risk of 6-30 cases per 100,000 lifetime exposure for the recalled product — a useful historical reminder that not all laminate is equal. Look for the TSCA Title VI compliance label on the box.
How much does it cost to have a professional install laminate flooring?
Professional installation of laminate runs $2-$5 per square foot for labor, plus $1-$4 per square foot for the material itself. For a 200 sq ft room expect $600-$1,800 total (installed). A handyman installs for $1-$3/sq ft labor ($200-$600 for a 200 sq ft room) — significantly less than a specialty flooring contractor. DIY cost for the same room is $400-$1,200 total, with labor being your weekend. Hire a [handyman near you](/handyman-services) if the subfloor is uneven or the room has complex angles.
Your skills deserve to be seen.
Join handymen who use HandymanCan to get found by local clients — completely free.
No credit card. No catch. Takes 5 minutes.
Related Articles
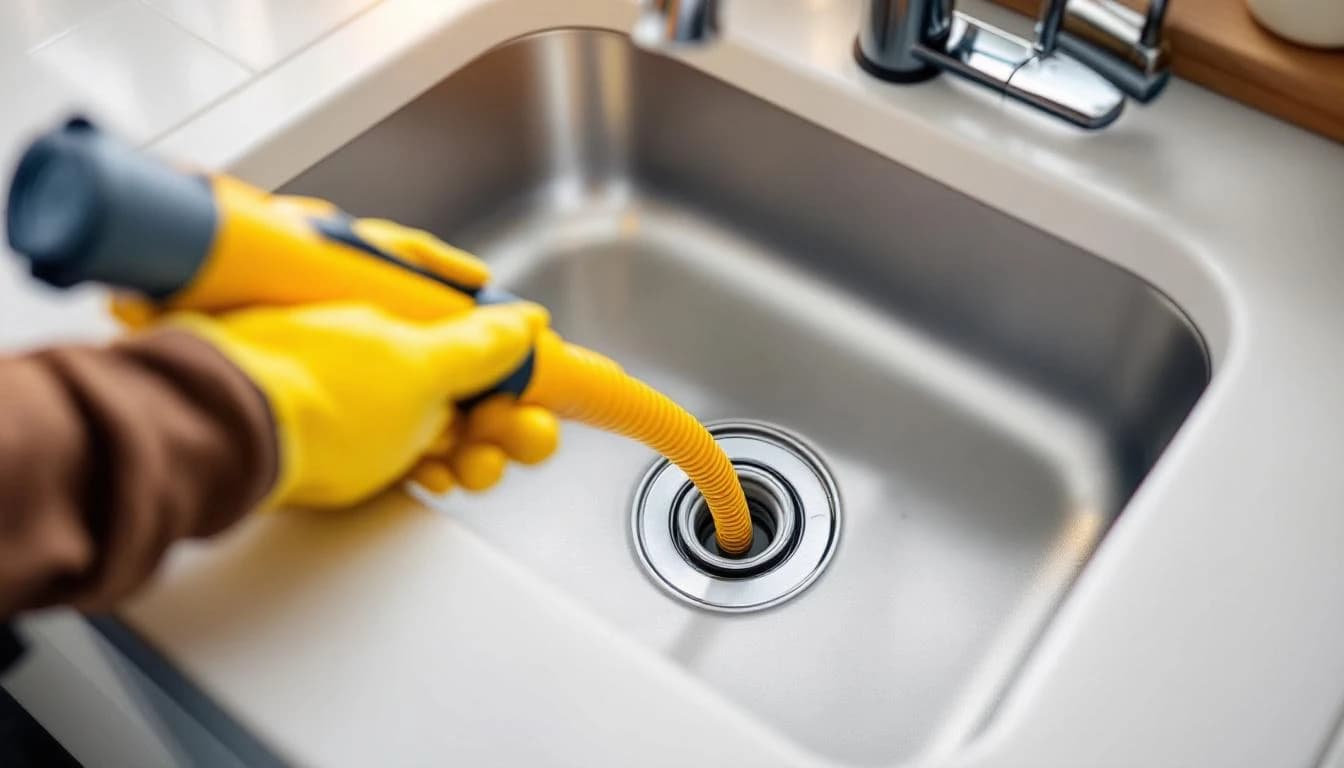
How to Unclog a Drain: The Safe Order of Operations (2026)
Unclog a kitchen, bathroom, or shower drain without chemicals in most cases. Plunger, baking soda, snake, P-trap — plus the drain cleaner safety rules the bottle doesn't mention.
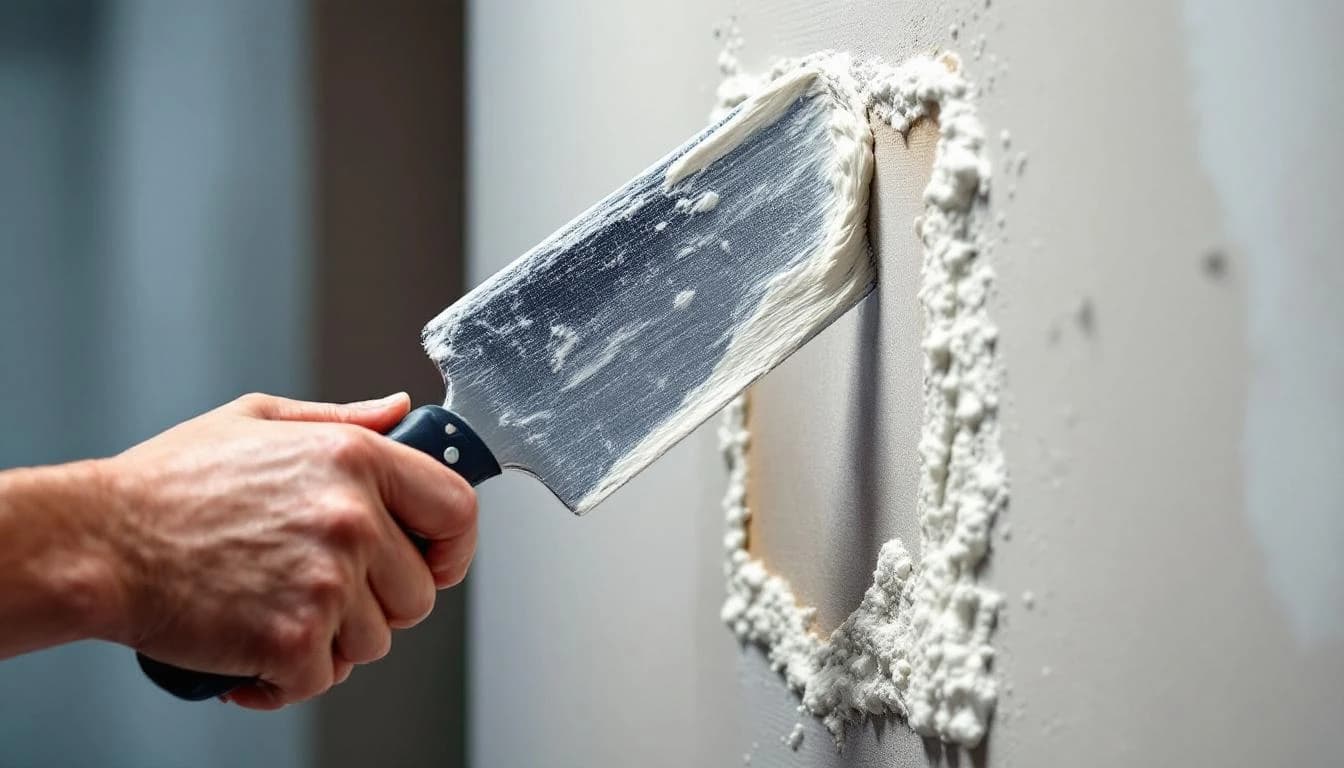
How to Patch a Hole in Drywall: Small, Medium, and Fist-Sized Fixes
Patch any drywall hole — from nail pops to a doorknob-sized crater — in under 2 hours. The right method for each hole size, the tools that matter, and how to make the patch invisible after paint.
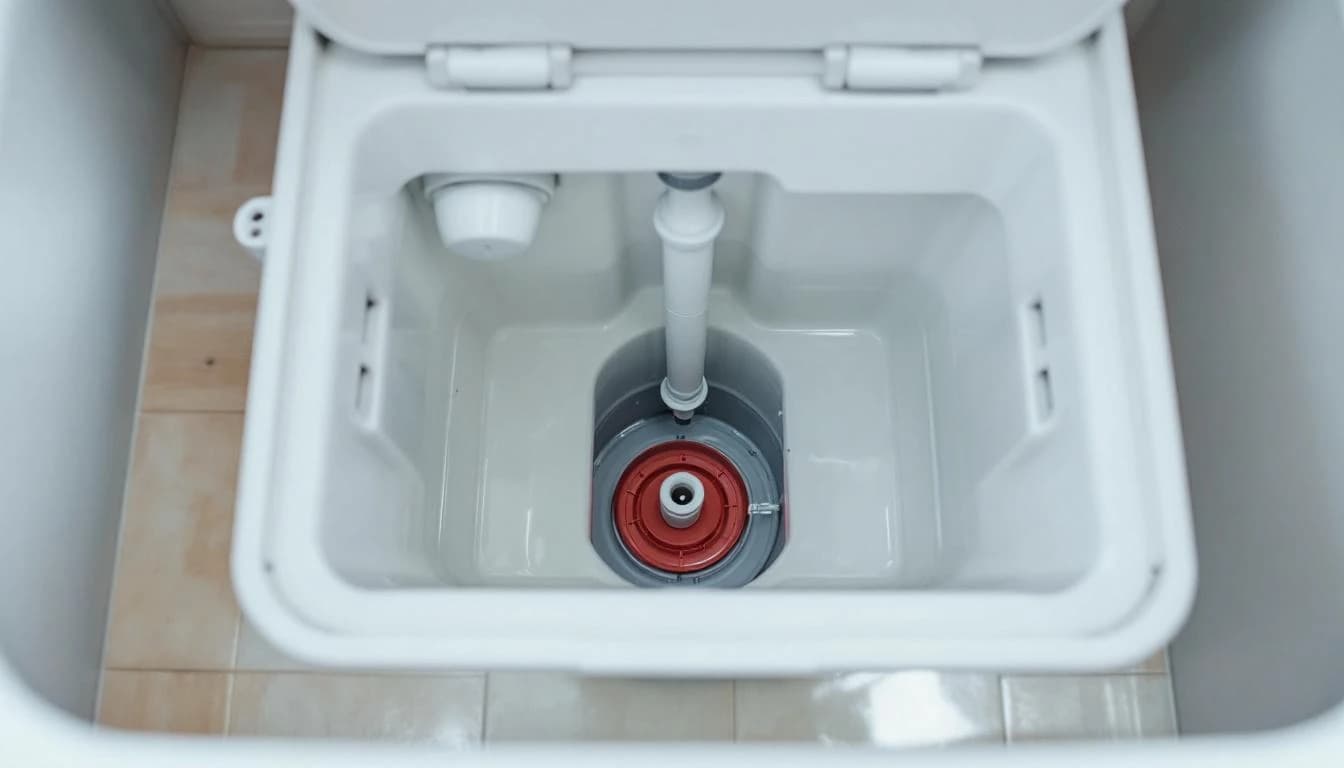
How to Fix a Running Toilet: Diagnose and Repair in 20 Minutes
Stop a running or ghost-flushing toilet in under 20 minutes. Diagnose the flapper, fill valve, or float issue, buy the right $5-$20 part, and fix it yourself.