How to Patch a Hole in Drywall: Small, Medium, and Fist-Sized Fixes
Patch any drywall hole — from nail pops to a doorknob-sized crater — in under 2 hours. The right method for each hole size, the tools that matter, and how to make the patch invisible after paint.
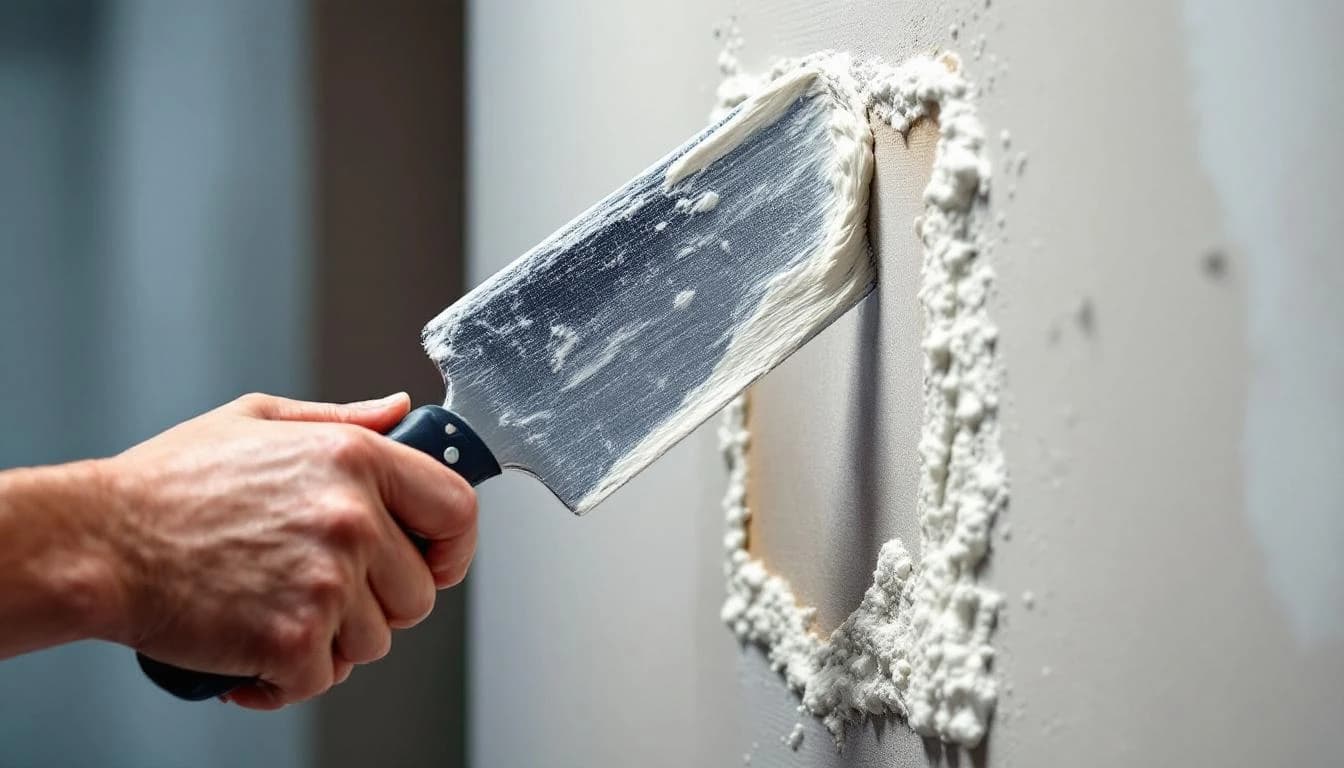
Patching drywall is less about technique and more about matching the method to the hole size. A nail hole and a doorknob-sized crater need completely different approaches, and using the wrong one is why so many DIY patches look DIY.
This guide walks you through three distinct methods based on hole size, plus the one step homeowners almost universally skip that separates invisible patches from "I can see where you fixed it." Budget 30 minutes to 2 hours depending on what you're working with.
Step 1: Measure Your Hole and Pick the Method
Drywall damage falls into three sizes. Each has a specific fix.

| Hole size | Method | Time | Materials cost |
|---|---|---|---|
| Nail / screw holes, up to 1/4" | Spackle, single coat | 10 min + dry time | $5 |
| Dimple to 4" (up to fist-sized) | Self-adhesive mesh patch + joint compound | 45 min + dry time | $8–$15 |
| 4" to 8" | Drywall replacement patch ("California patch" or bracket method) | 2 hours + dry time | $15–$25 |
| Over 8", or damage to studs | Full drywall section replacement — handyman territory | 3+ hours | $25–$60 + labor |
Also consider: any damage that's wet, moldy, or has obvious water staining around it is not just a drywall patch — you have a plumbing or roof leak somewhere behind the wall. Fix the source before you patch, or the patch comes back wet in a month. The EPA recommends drying water-damaged building materials within 24-48 hours to prevent mold growth; past that window, damaged drywall typically needs to be cut out, not patched over.
Method 1: Nail Hole or Screw Hole (10 Minutes)
Tools: 1.5" putty knife, spackle, sanding sponge, damp rag.
- Wipe the area around the hole clean
- Scoop a small amount of spackle on the corner of the putty knife
- Press spackle into the hole, scrape across flush with the wall
- Wipe any excess with a damp rag
- Let dry (most DryDex-type spackles show pink when wet, white when dry — 20-30 minutes)
- Lightly sand with a sanding sponge until flush and smooth
- Wipe dust off with a slightly damp cloth
- Prime the patch, then paint
Don't overwork spackle. One smooth pass, done. Smearing it around creates ridges that show after paint.
Method 2: Small-to-Medium Hole, Dime to Fist-Sized (45 Minutes)
This is the most common DIY drywall repair — doorknob holes, accidental dents from moving furniture, tears from removed wall anchors.
Tools needed
- 4" or 6" putty knife / drywall knife — the flexible metal kind, $6 each. Don't use the tiny 1.5" knife for this — you'll create ridges.
- Self-adhesive mesh wall patch — $4-$8 for a pack. These are the silver mesh squares sold at every hardware store.
- Lightweight joint compound ("all-purpose" or "topping" — $15/tub, lasts multiple projects)
- Sanding sponge (medium-fine grit, 120)
- NIOSH-approved N95 respirator — not optional for sanding; see the dust section below
- Damp rag and drop cloth
Steps
- Trim loose drywall. If the hole has torn edges or paper flaps, cut them back with a utility knife until the edges are clean. Push any loose pieces into the wall cavity — doesn't matter once patched.
- Apply the mesh patch centered over the hole. The self-adhesive side sticks directly to the wall. Press firmly around all edges.
- First coat of joint compound — spread a thin layer (about 1/8 inch thick) over the entire patch, extending 2-3 inches beyond the mesh edges in all directions. Use the 6" knife, apply in smooth parallel strokes. Don't try to make it perfect; you're filling the mesh and feathering out to the wall.
- Let dry fully — 4-6 hours, usually overnight. Don't rush this. Compound shrinks as it dries and a not-yet-dry first coat will crack when you apply the second.
- Second coat — slightly wider than the first (feather 4-6 inches past the mesh), thinner than the first. Smooth and even. Dry another 4-6 hours.
- Third coat if needed — for a really invisible patch, one more thin wider coat. For rental-grade or closet walls, skip.
- Sand with the sanding sponge using light circular motions. Your goal is feather-flat — run your hand over the wall and the patch edge should be imperceptible.
- Wipe dust with damp rag.
- Prime and paint.
The #1 rule of drywall patching: thin coats, multiple times. Trying to fill a hole in one thick coat will shrink, crack, and show forever.
Method 3: Fist-Sized to 8-Inch Hole (2 Hours)
For holes bigger than a fist, mesh patches aren't structural enough. You need to cut out a clean square and install a patch of actual drywall.
The "California Patch" (no-stud method)
- Cut a square of new drywall about 2 inches larger than the hole on each side. So for a 5"×5" hole, cut a 9"×9" patch.
- Score and snap the patch — on the back (paper) side of the patch, score a square 2 inches inside from each edge (leaving a 5"×5" drywall center and 2-inch paper flaps all around). Snap the edges off the scored drywall while leaving the front paper intact. You now have a 5×5 drywall square with paper "wings" on all sides.
- Cut the wall hole square — use the patch to trace a matching 5"×5" square on the wall, then cut out that square with a utility knife or drywall saw. Your hole is now a clean 5"×5" square.
- Insert patch — the 5×5 drywall center fits into the hole, and the paper wings press flat against the front of the existing wall around the hole.
- Spread compound over the paper wings — treats the paper wings as built-in drywall tape.
- Feather outward — first coat 6 inches past the patch edges. Multiple thin coats like Method 2. Let dry, sand, prime, paint.
The "bracket" alternative
For holes right next to a stud, install two horizontal wood strips or plastic brackets inside the hole, screw the drywall patch to those. Then tape and mud like a normal seam. Slightly stronger than California patch but requires a stud finder and more screwing. Choose based on what's near the hole.
Step 2: The Sanding Step — And Why You Need a Real Respirator
Sanding joint compound creates fine dust. Part of that dust is respirable crystalline silica. The NIOSH classifies crystalline silica as a potential occupational carcinogen, and they recommend a Time-Weighted Average exposure limit of 0.05 mg/m³.
A single DIY patch isn't a chronic workplace exposure. But you're creating fine airborne dust in your home, potentially in a bedroom, and you shouldn't inhale it.
Do this for every sanding session:
- NIOSH-approved N95 respirator (not a paper dust mask — those don't filter fine particulates). $15 for a 5-pack.
- Close the door to the work room. Cover vents with plastic.
- Damp-sand where possible — dip the sanding sponge in water, squeeze out excess, sand with the barely-damp sponge. Dramatically reduces airborne dust.
- Vacuum with a HEPA filter after sanding, not a standard shop vac (which just redistributes fine dust). If you don't have HEPA, mop the floor thoroughly with a damp rag.
- Kids and pets out of the room during and for 30 minutes after sanding.
This isn't overkill. It's basic DIY hygiene that costs $15 and 2 minutes of setup.
Step 3: Prime Before Paint (The Step Everyone Skips)
Fresh joint compound is porous and absorbs paint differently than the rest of the wall. If you paint directly on the patch, the patched area will look slightly different — a phenomenon called "flashing." Even with the right paint, the texture and sheen won't match.
Solution: prime the patched area before painting.
- Use a cheap PVA (polyvinyl acetate) drywall primer — $15/gallon
- Apply with a small roller or brush, just over the patched area plus an inch or two of wall
- Let dry 1 hour
- Paint over the primer + the surrounding wall
For wall-wide repainting, you can skip primer only if using a quality paint-and-primer-in-one — and even then, an extra coat over the patched area helps.
Matching Wall Texture
If your walls have a textured finish (orange peel, knockdown, skip trowel), a smooth patch stands out like a neon sign.
Spray-can texture
Hardware stores sell $10 spray cans of orange peel and knockdown texture ("wall texture repair spray"). Practice on cardboard first — the spray pattern takes a couple minutes to get consistent. Apply to primed patch, let dry, paint.
Knockdown specifically
Spray the texture, wait 10-15 minutes for it to start drying, then lightly drag a wide knife across the bumps to flatten (knock down) the peaks. Practice matters — test on scrap first.
Heavy textures or pattern matches
Skip DIY and hire someone. Matching a skip-trowel finish is a skill that takes years. A handyman or drywaller will do it in an hour.
Pro Tips That Make Patches Invisible
- Feather everything. The edge of compound should fade gradually to nothing over 4-6 inches, not stop abruptly. If you run your hand over the dry patch and feel an edge, sand it down and add another feathered coat.
- Use a wide knife. A 6-inch or 8-inch knife spreads thinner, flatter compound than a 3-inch knife. Worth the $10 upgrade.
- Light test. After sanding and before priming, shine a work light sideways across the patch. Any bumps, ridges, or divots become visible in raking light. Sand them out now — you won't see them head-on but you'll see them in morning sun for the rest of the time you live in the house.
- Save a baby food jar of joint compound for touch-ups. Drywall settling and future nail holes will happen.
- Paint the whole wall, not just the patch. Matching a 3-year-old paint color exactly is nearly impossible. Painting wall-to-corner blends far better than trying to "spot paint" a patch area.
Common Mistakes
- One thick coat. Compound shrinks. Thick coats crack. Always thin + multiple coats.
- Not enough dry time between coats. The top looks dry in 2 hours but isn't fully dry for 4-6 hours. Applying compound over not-fully-dry compound traps moisture and causes cracking later.
- Skipping primer. Flashing makes the patched area look wet or slightly dull forever.
- Spot-painting instead of wall-painting. Even "same can" paint looks slightly different after 3 years of fading.
- Skipping the respirator. A paper dust mask isn't enough for silica-containing fines. Get an actual N95.
Cost Reality Check
| Repair | DIY cost | Handyman | Drywaller |
|---|---|---|---|
| 1 nail hole | $5 (spackle jar lasts forever) | $75+ minimum | — |
| Fist-sized hole | $15 | $100–$175 | $150–$250 |
| Medium hole + paint whole wall | $60 | $175–$350 | $250–$450 |
| Multiple holes in one room | $30 | $250–$500 | $350–$650 |
Labor ranges from HomeAdvisor drywall repair cost guide and Fixr, 2025 averages. Texture matching adds 30-60%.
When to Call a Professional Instead
Skip DIY if:
- Hole is larger than 8 inches, or extends to damage a stud or electrical box
- You have a heavily textured wall (skip-trowel, heavy orange peel, any pattern) you can't match
- Multiple holes throughout a house (moving out of a rental) — a handyman will do 10 holes in 2 hours for a flat rate
- The wall is wet, soft, stained, or smells musty — that's a water damage problem and needs the source fixed first
- You have 1960s-and-earlier plaster-and-lath walls, which look like drywall but patch completely differently
- A small number of US homes (primarily built 2005-2009 in the Gulf states, especially Florida) were built with problem imported drywall — the CPSC received around 4,051 formal reports from 44 states. Signs: copper wiring blackening/corrosion, rotten-egg smell, frequent AC failures. Not a DIY patch job — needs professional assessment.
None of that applies? Pick the method that matches your hole size and budget 45 minutes. You'll save $100+ and the patch will look fine.
Something applies? Find a handyman near you →
One Last Thing
Drywall patching is a confidence skill — your first patch will probably be slightly visible in raking light, and your fifth patch will be truly invisible. The key is doing enough thin coats that the surface is truly flat, not nearly flat. If you stop one coat too early, it'll haunt you.
The other key is just priming before you paint. Most DIY patches look OK until the paint dries, then the "flash" of unprimed compound shows through like a fingerprint. 20 minutes and $15 of primer is the difference. Find a handyman →
Frequently Asked Questions
What's the difference between spackle and joint compound?
Spackle (like DAP DryDex) is pre-mixed, fast-drying, and designed for small patches — nail holes, screw holes, tiny dings. It's great for quick jobs but cracks if applied thick. Joint compound (also called 'mud') comes in larger tubs or bags, takes longer to dry, and is the professional choice for anything bigger than a nail hole. For holes larger than a dime, use joint compound. Lightweight 'all-purpose' joint compound ($15/tub) is the best choice for DIY.
How big a hole can I patch myself?
Up to a fist-sized hole (roughly 4 inches across) is solid DIY territory with standard patch kits. Between fist-sized and 8 inches, you'll need a drywall 'patch' technique where you cut out a square of drywall and replace it with a clean patch piece — still DIY but takes 2-3 hours and a second coat. Holes larger than 8 inches, or any damage that extends to the studs or wall structure, is better handled by a handyman or drywaller — it's not technically hard but takes practice to look right.
Do I need to find the stud behind the hole?
Not for small-to-medium holes — modern patch kits work independently of studs. You only need to find studs if you're (1) replacing a large section of drywall (>8 inches), (2) installing something heavy on the wall afterward, or (3) the hole is right next to a stud anyway, in which case you can screw the patch directly to the stud for extra strength.
Why does my drywall patch crack or show through the paint?
Three usual causes: (1) you applied joint compound too thick in one coat — it shrinks as it dries and cracks. Build up thin coats (1/8 inch max per layer). (2) You didn't prime the patched area before painting — fresh joint compound absorbs paint unevenly and shows as a 'flash' through the finished wall. Always prime first with a cheap PVA drywall primer ($15/gal). (3) The drywall tape wasn't fully bedded in the compound for medium/large patches — invisible air pockets under tape cause cracking within weeks.
Is drywall dust dangerous?
The dust from sanding joint compound contains respirable crystalline silica, which NIOSH classifies as a potential occupational carcinogen with repeated high exposure. A single DIY patch job won't put you at serious risk, but you should still wear a NIOSH-approved N95 respirator when sanding (not just a paper dust mask), close the door to isolate the work area, and use a damp sponge or wet-sanding method where possible to minimize airborne dust. Vacuum thoroughly after.
How much does a handyman charge to patch a drywall hole?
A handyman typically charges $75-$200 for a single small-to-medium drywall patch (nail hole to fist-sized), usually with a 1-hour minimum. For larger holes or multiple patches in one room, expect $150-$400. A drywall specialist (for smooth-textured or match-textured work) charges $200-$500. Since you'll also need to paint — either the patch or the whole wall for blending — budget for that separately. Hire a [handyman near you](/handyman-services) if you have many holes or a textured wall to match.
Your skills deserve to be seen.
Join handymen who use HandymanCan to get found by local clients — completely free.
No credit card. No catch. Takes 5 minutes.
Related Articles
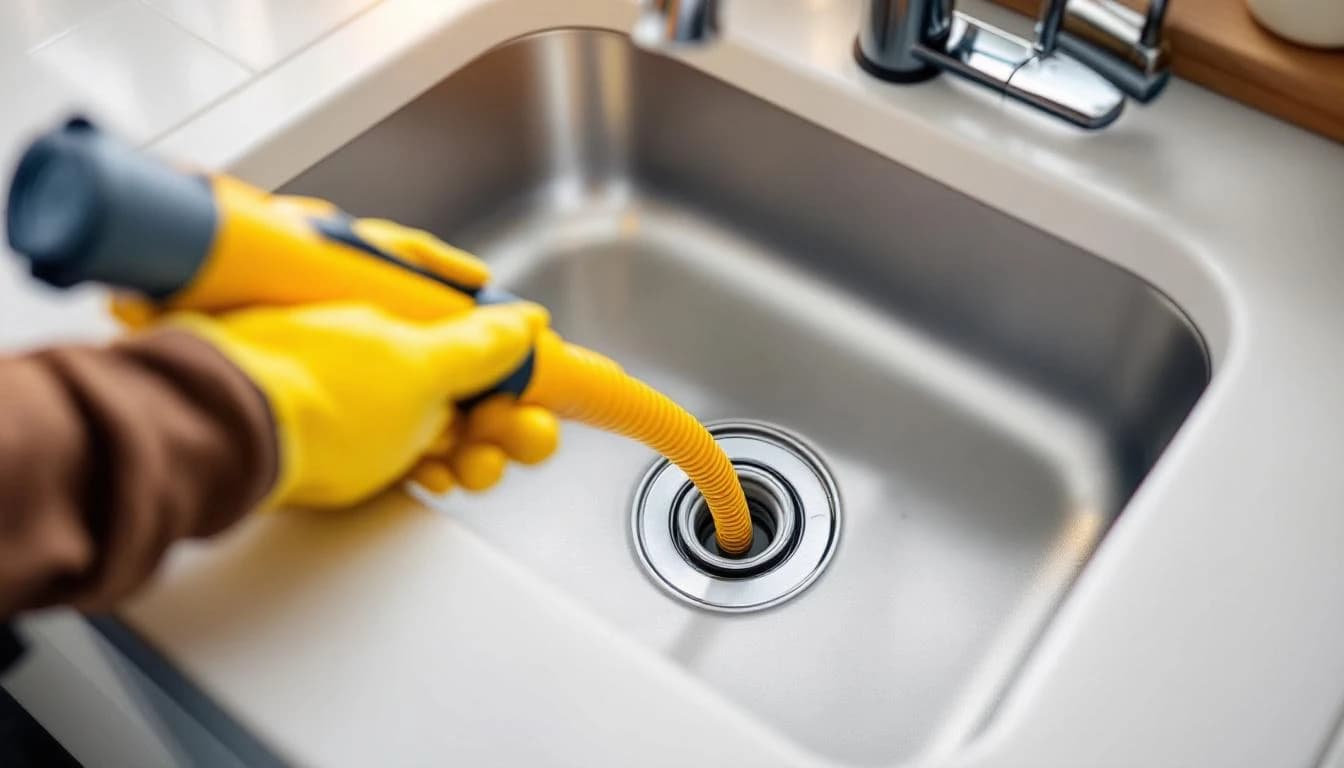
How to Unclog a Drain: The Safe Order of Operations (2026)
Unclog a kitchen, bathroom, or shower drain without chemicals in most cases. Plunger, baking soda, snake, P-trap — plus the drain cleaner safety rules the bottle doesn't mention.
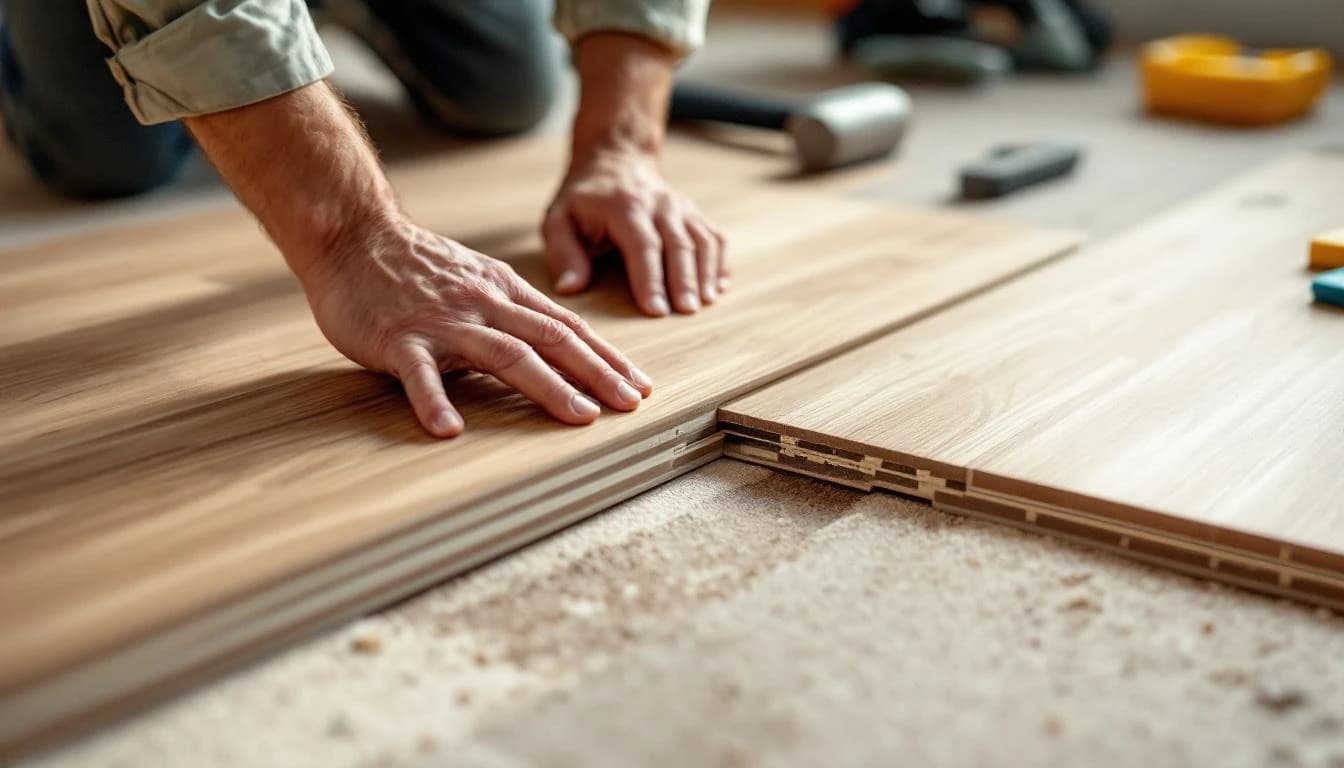
How to Install Laminate Flooring: A Realistic Weekend DIY Guide
Install laminate flooring yourself in 1-2 days for a 200 sq ft room. Subfloor prep, underlayment, click-lock planking, expansion gaps, and trim reinstall — plus what to check before you buy for indoor air safety.
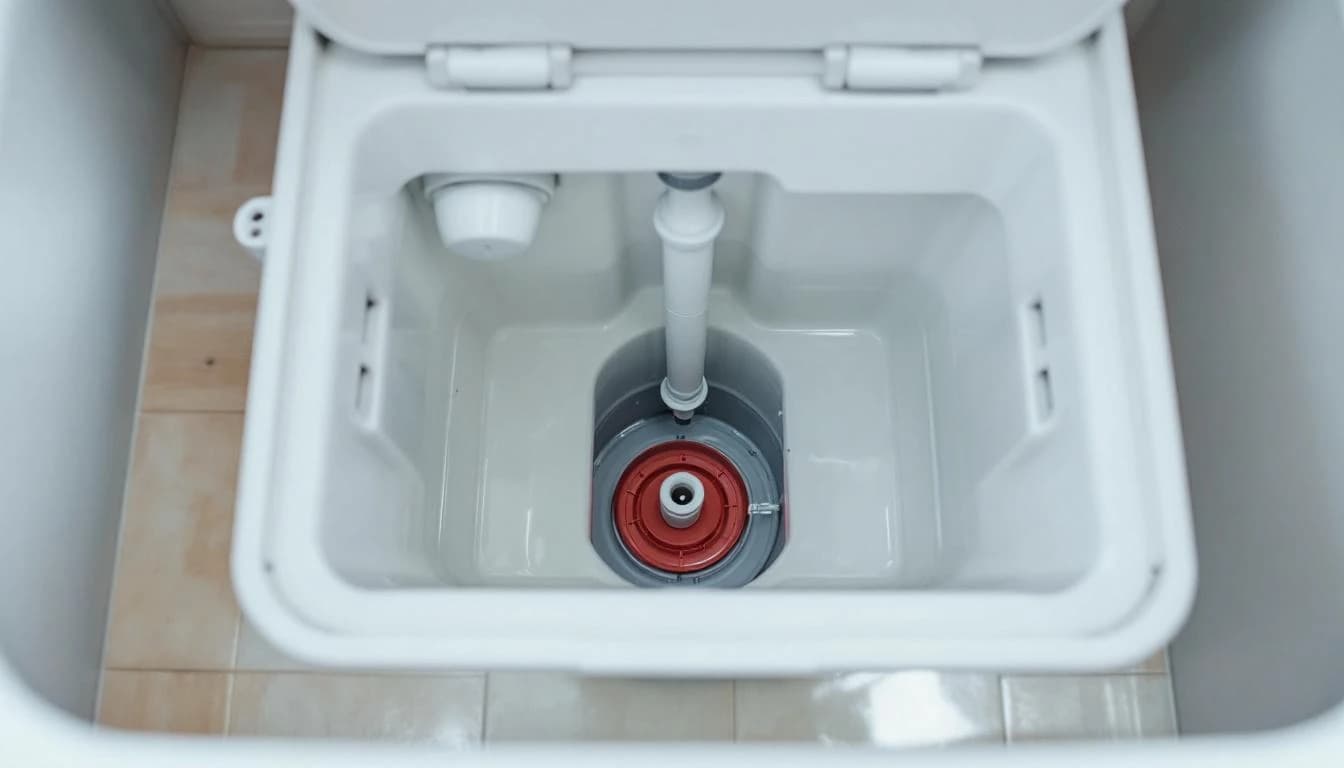
How to Fix a Running Toilet: Diagnose and Repair in 20 Minutes
Stop a running or ghost-flushing toilet in under 20 minutes. Diagnose the flapper, fill valve, or float issue, buy the right $5-$20 part, and fix it yourself.