How to Paint a Room: A Clean, One-Day DIY Guide (2026)
Paint a standard bedroom in 5–7 hours with professional-looking results. Tools, paint quantity calculator, prep checklist, the order that matters, and the lead paint rule for pre-1978 homes.
Most bad paint jobs aren't bad because the homeowner can't roll a wall. They're bad because they skipped the 90 minutes of prep that makes the painting part easy. Good painting is 70% prep and 30% paint — get that ratio wrong and you end up with roller lines, wall edges bleeding onto the ceiling, and a room that looks "DIY" in the worst sense.
This guide is written to give you pro-looking results in a single day. I'll also tell you the one situation where you should stop and call someone, because it's not optional and it's cheaper than lead exposure.
Before You Start: Is Your Home Pre-1978?
The US banned residential lead-based paint in 1978. If your home was built before then, you may be painting over lead, and the rules change.
The EPA estimates 34.6 million US homes — about 29% of all housing units — contain lead-based paint. Of those:
- 87% of homes built before 1940 have lead paint (EPA)
- 24% of homes built 1960–1978 have lead paint
If your home is pre-1978 and the existing paint is intact (no chipping, peeling, cracking), painting over it with modern latex generally encapsulates it safely. Most residential repaints fall in this bucket.
Stop and get a lead test kit ($15, hardware store) if:
- Paint is peeling, flaking, or chipping anywhere
- You're planning to sand, scrape, or heat-gun any surface
- You're replacing windows or trim that involves disturbing old paint
- A child under 6 lives in the home
If the test shows lead and you plan to disturb painted surfaces (sanding, scraping, cutting into walls), either hire an EPA RRP-certified contractor or limit yourself to encapsulating intact paint only. Lead dust from sanding old paint is the most dangerous form of exposure — the CDC estimates about 500,000 US children have blood lead levels at or above the reference value of 3.5 µg/dL, and renovation dust is a known cause.
This is a quick check. Take it seriously and then move on.
Step 1: Calculate How Much Paint You Actually Need
Paint quantity is the #1 place DIYers get it wrong. Too little and you run out mid-wall. Too much and you have four half-used gallons cluttering your garage for a decade.
The formula: room perimeter × ceiling height = rough wall square footage. Subtract 20 sq ft per door, 15 sq ft per average window.
| Room size | Wall sq ft | Paint (1 coat) | Paint (2 coats, recommended) |
|---|---|---|---|
| Small bedroom (10×10, 8' ceiling) | ~300 | 1 gallon | 2 gallons |
| Standard bedroom (12×12, 8' ceiling) | ~380 | 1 gallon | 2 gallons |
| Large bedroom (14×16, 8' ceiling) | ~460 | 1.5 gallons | 3 gallons |
| Living room (15×20, 9' ceiling) | ~590 | 2 gallons | 3–4 gallons |
| Average coverage per gallon | 350–400 sq ft |
Default to two coats. One-coat coverage exists in marketing but rarely in reality, especially on color changes. The exception is a very minor touch-up of the exact same paint.
Also buy:
- 1 quart for trim and doors
- 1 gallon for ceiling (if painting) — ceiling paint is usually cheaper, $20-$30/gal
- Primer ($25/gal) only if you're covering stains, glossy paint, or going dark → light
What You'll Need
Tools
- 9-inch roller frame + ½-inch nap covers (2 per room) — ½" is standard for flat/eggshell; go to ¾" for textured walls, ⅜" for gloss trim
- 2.5-inch angled sash brush — this is the one brush that matters. Buy a $15 Purdy or Wooster; don't buy the $4 plastic bundle
- Paint tray + tray liners (3-pack of liners = easy cleanup)
- Roller extension pole — even for 8' ceilings; saves your shoulders
- Drop cloths — canvas ($20) beats plastic every time; plastic slides around and tears
- Painter's tape (2-inch FrogTape or 3M Delicate Surface — $8/roll)
- Plastic putty knife — for scraping, patching, and pushing tape down tight
- Spackle + sanding sponge — for nail holes and small gouges
- Microfiber cloth — for the dust wipe before painting
- Step stool or small ladder
Materials
- Paint — see table above
- Primer (if needed) — $25/gal
- Spackle — $5 tub
- Caulk + caulk gun — $8, for gaps between trim and wall
Total materials: $60–$180 depending on paint quality. Pro painter charges $350–$800 for the same room.
Step 2: The 90 Minutes of Prep That Makes or Breaks the Job
Everything below happens before you open the paint can. This is where amateurs quit and pros stay patient.
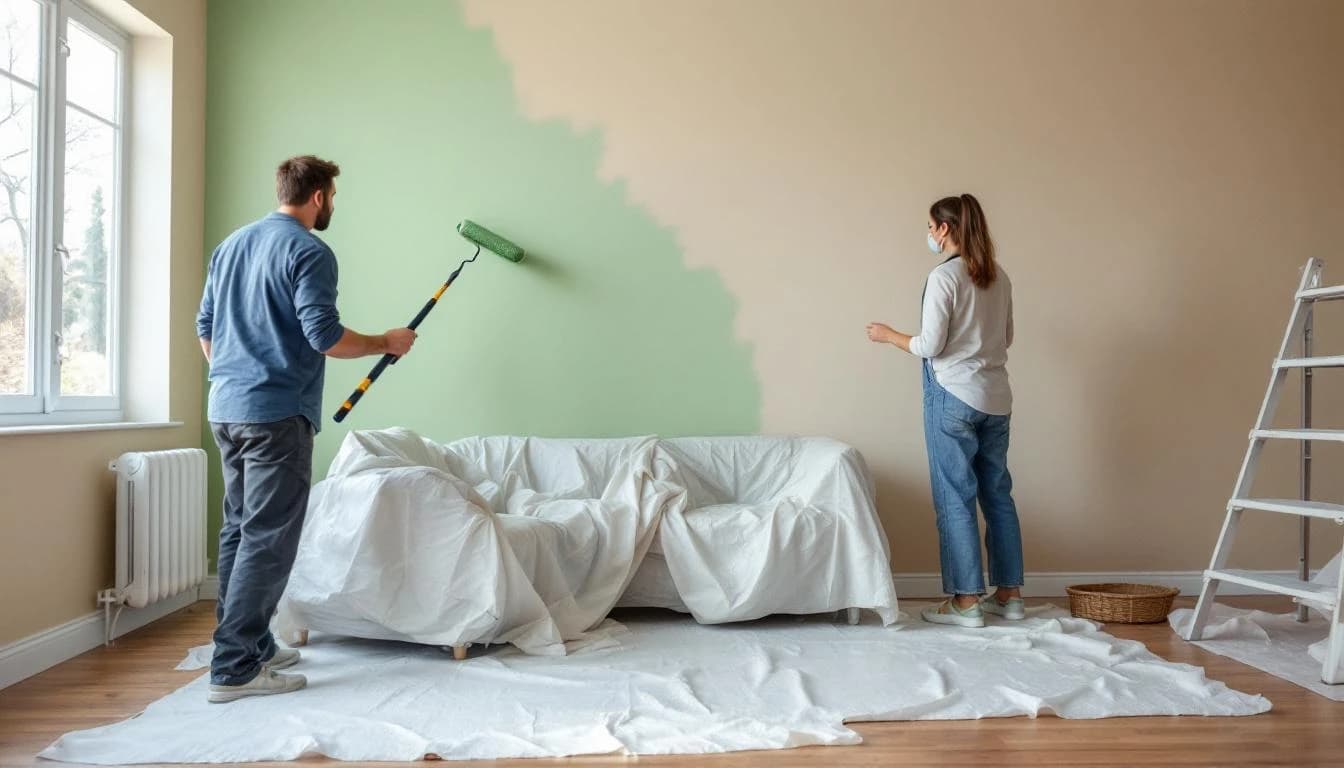
Move and protect (15 min)
- Pull furniture to the center of the room, 3 ft from every wall
- Cover furniture with plastic sheeting ($5 roll at any hardware store)
- Remove or cover the floor completely with drop cloths — tape cloths down so they don't bunch
- Take down wall art, curtains, switch plates, outlet covers
- Remove door hardware you can (door knobs, hinges if feasible) or tape around them
Fill, sand, clean (45 min)
- Fill every hole. Spackle over nail holes, screw holes, dings. Overfill slightly — it shrinks as it dries.
- Sand after dry (20 min). A sanding sponge and 15 seconds per patch makes every patch invisible. Skip this and every patch will be a visible dot through the paint.
- Wipe every wall with a damp microfiber cloth. Dust = roller lines. This is not optional.
- Caulk gaps between trim and wall, between ceiling and wall if there's a visible crack. Use paintable latex caulk; smooth with a wet finger.
Tape (30 min)
- Tape the edges of ceilings (if not painting them), baseboards, window trim, door frames
- Press tape edges down with a putty knife — this is the difference between a crisp line and bleed-through
- Don't tape what you're painting next. If you're doing ceiling → walls → trim, tape baseboards when you start walls, tape walls when you start trim.
Done. Now you can open the paint.
Step 3: The Order Matters — Ceiling, Walls, Trim
This is the single biggest "pro secret" and it's not a secret, just counterintuitive. You paint from top to bottom and from what-doesn't-show to what-does-show.

| Order | Surface | Why |
|---|---|---|
| 1 | Ceiling | Splatter will land on walls — doesn't matter, you haven't painted them |
| 2 | Walls | Roller near the ceiling will mark the trim — doesn't matter, trim is last |
| 3 | Trim and doors | Fine brushwork, done on a surface no longer at risk |
Painting trim first and then walls is how amateurs end up re-painting trim 3 times. Don't do it.
Step 4: Ceiling (If Painting)
- Cut in the edges with a 2.5" brush — a 2-inch-wide band where the ceiling meets the walls
- Roll the rest with a ½" nap roller on an extension pole
- Work in 4×4 ft sections, slightly overlapping each section while still wet
- Roll in one direction (say, north-to-south), then perpendicular (east-to-west) lightly — this evens out the texture
Ceiling paint specifically (not wall paint) is formulated to spatter less. Spend $25 on a gallon of ceiling paint rather than using wall paint upside down.
Step 5: Walls — Cut In, Then Roll
The technique that separates pro-looking from DIY-looking is "cut in then roll while wet." Here's what that means:
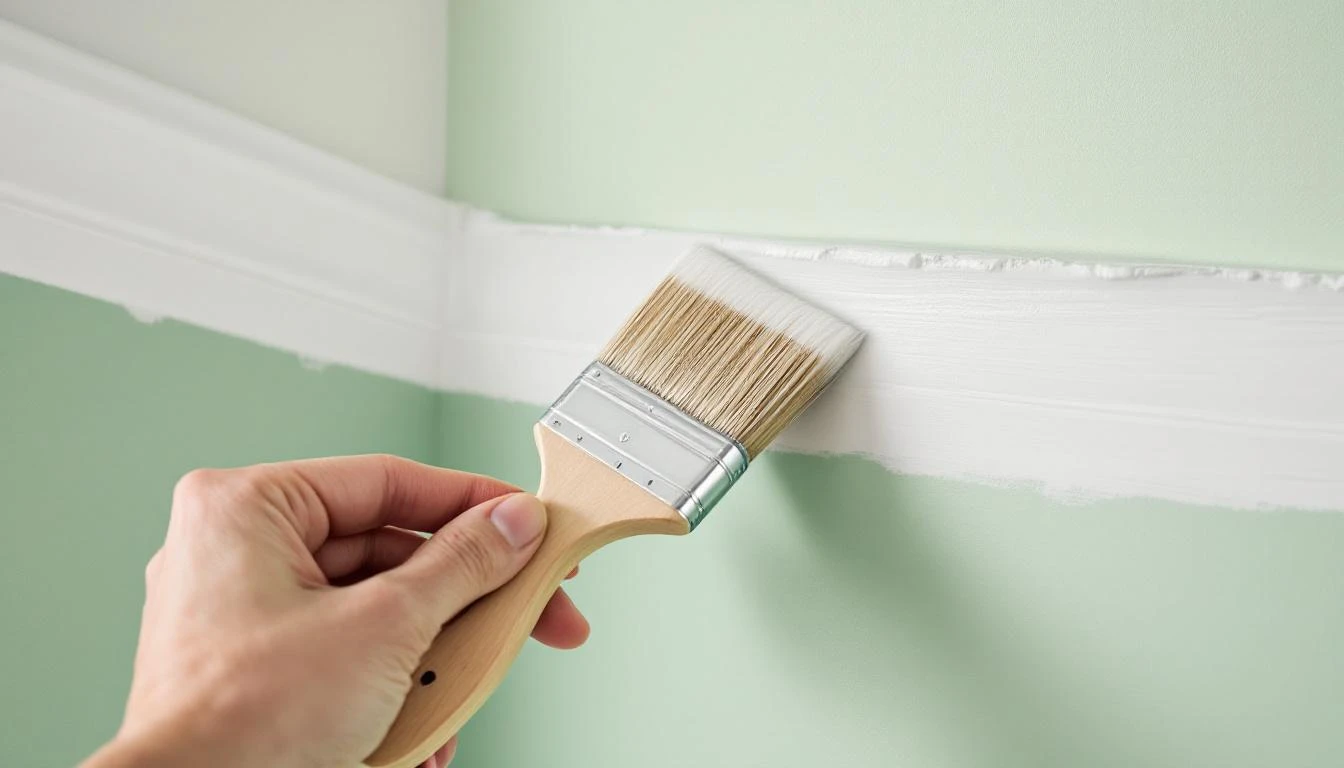
- Cut in one wall at a time — use the 2.5" brush to paint a 2-inch band along the ceiling, corners, and baseboard
- Immediately roll the main wall while the cut-in is still wet. If the cut-in dries before you roll, you'll see a visible line where the two techniques meet ("hat banding")
- Roll in a big W pattern (up-down-up-down), then fill in without lifting the roller
- Finish each wall with long, light vertical strokes ceiling-to-floor to even out the texture — this is called "laying off"
- Let dry per can instructions (usually 2-4 hours), then recoat
Don't overwork wet paint. Once you've rolled an area and laid off, walk away. Going back to "fix" a spot after it's started drying creates the ugly streaks that haunt DIY paint jobs.
About VOCs and Ventilation
Paints release volatile organic compounds (VOCs) — chemicals that off-gas into the air. The EPA notes that VOC concentrations average 2 to 5 times higher indoors than outdoors, and during and after activities like painting, levels can spike to 1,000 times background outdoor levels for several hours.
Translation:
- Open windows during and after painting
- Run a fan blowing out a window if you can
- Keep kids and pets out of the room during and for a few hours after painting
- Buy low-VOC or zero-VOC paint (most major brands now offer it at a small premium) — Green Seal GS-11 certified paints are capped at 50 g/L for flat and 100 g/L for non-flat
You don't need a respirator for a standard latex paint job, but good ventilation is non-negotiable.
Step 6: Trim, Doors, and Final Touches
- Re-tape — this time along the newly painted walls, close to but not touching the trim
- Use the angled sash brush — apply paint with the long side of the angle following the edge
- Paint with the grain of the wood (for stained or wood trim) — against it for fully-painted trim
- Pull tape while the paint is still slightly tacky, not fully dry. Dried paint bonds to the tape and tears when pulled, ruining the edge. Pull tape at a 45° angle away from the wet paint.
- Touch up any bleed-through with a small brush immediately
Rule of thumb for tape removal: 30-60 minutes after painting, while the paint still has a slight tackiness. Not 2 hours. Not overnight.
Pro Tips Tutorials Leave Out
- "Boxing" paint — if you have two+ gallons of the same color, pour them all into a 5-gallon bucket and mix. Every gallon is a slightly different shade and boxing prevents visible seams mid-wall.
- Never seal the can with a hammer until you wipe the rim. Dried paint in the rim means the lid won't seal and the paint skins over. 10 seconds with a wet rag saves the rest of the can.
- Don't use painter's tape as a permanent mask. Pull all tape within 24 hours max — longer and adhesive transfers to the wall and won't come off cleanly.
- Keep a wet edge. The whole "laying off" trick is about keeping the edge of what you just rolled still wet when you overlap into the next section. Work fast enough to not dry out.
- Two coats, always. The "one-coat" claim on paint cans is marketing. Two coats gives better coverage, deeper color, and more even sheen. Budget for it.
Common Mistakes Pros See
- Cheap roller covers. A $2 roller leaves fuzz in the paint that you'll see forever. Spend $10 on a good ½" microfiber cover.
- Painting over dust. Walls look clean but aren't. That wipe-down step is the one everyone skips.
- No cut-in before rolling. Rolling right up to the trim or ceiling never looks as clean as a brushed edge first.
- Overloading the roller. Drips and heavy spots come from rollers dripping with paint. Roll excess off on the paint tray ramp.
- Removing tape too late. Dried paint tears the edge. Remove tape within an hour.
Cost Reality Check
| Approach | Paint + supplies | Labor | Total |
|---|---|---|---|
| DIY with builder-grade paint | $60 | Your day | $60 |
| DIY with premium paint (Benjamin Moore, Sherwin-Williams) | $100–$180 | Your day | $100–$180 |
| Handyman, you supply paint | $60 | $150–$350 | $210–$410 |
| Painter, they supply paint | $100 | $250–$700 | $350–$800 |
Painter labor ranges pulled from HomeAdvisor's interior painting cost guide and Fixr, 2025 averages. Rates vary 30-50% by region and ceiling height.
When to Call a Professional Instead
Skip DIY if:
- Home is pre-1978 and paint is chipping, peeling, or cracking (lead safety)
- Ceiling is over 10 ft or requires scaffolding
- Walls have extensive water damage, mold, or structural cracks — paint over those and they come back in 6 months
- You're painting cabinets, doors with raised panels, or anything requiring spraying
- You've tried before and didn't like the result — painting well is a skill, and some people just hate it
A painter charges $350-$800 for a standard bedroom and delivers a finish you'll enjoy for 5-7 years. That's not bad value.
None of the above apply? You have a one-day project in front of you. Put music on, open the windows, and start with the ceiling.
One Last Thing
The single biggest predictor of a great paint job isn't technique or equipment — it's patience in the prep phase. Every minute you spend filling, sanding, wiping, and taping pays back 10× in how the finished walls look. Skimp on prep and the best paint in the world won't save you.
If you finish Step 2 (prep) and realize you'd rather not do the painting part, that's honest — stop there, let a pro finish what's now a very easy job for them, and you'll pay less because most of the labor is already done. Find a handyman →
Frequently Asked Questions
How much paint do I need for a room?
A standard 12×12 ft bedroom with 8 ft ceilings has roughly 380 sq ft of wall surface. One gallon covers about 350–400 sq ft per coat, so you need 1 gallon for walls for a single coat or 2 gallons for two coats (recommended on almost all color changes). Add another quart for trim and a small can for the ceiling if you're painting it. When in doubt, buy the extra quart — store paint matched to your wall is a lifesaver for touch-ups later.
Do I need to prime before painting?
You need primer if (1) you're painting over glossy, oil-based, or very dark paint, (2) there are water stains, smoke damage, or permanent marker on the wall, (3) you're painting fresh drywall or skim-coated patches, or (4) you're going from a dark color to a much lighter one. For the common case of repainting a wall in a similar color over latex, skip the primer and use a quality paint-and-primer-in-one. The $4 savings per gallon isn't worth a second coat on a stained wall.
Should I paint the ceiling, walls, or trim first?
Ceiling first, then walls, then trim. This is the opposite of what most homeowners assume. You'll get paint splatter on walls when painting the ceiling (doesn't matter — you haven't painted them yet), and you'll get wall paint on the trim while cutting in (doesn't matter — trim is last). Doing trim first means you re-paint it twice. Trust the order: ceiling → walls → trim.
Is it safe to paint over lead paint in an old house?
Lead-based paint was banned for residential use in the US in 1978. According to the EPA, 87% of homes built before 1940 and 24% of homes built 1960–1978 contain some lead paint. If your home is pre-1978 and the existing paint is intact (not chipping, flaking, or peeling), painting over it with modern latex is generally considered safe — the new layer encapsulates the old. If the paint is deteriorating, or you plan to sand or scrape, you need a lead-safe work approach because sanding creates fine lead dust. Get a lead test kit ($15 at any hardware store) or hire an EPA RRP-certified contractor for disturbance of painted surfaces.
How long should I wait between coats?
Most latex paints can be recoated in 2–4 hours; check the can for the specific product. Recoating too early will pull the first coat up and leave streaks. If you're painting in high humidity (bathroom, basement, or summer days over 70%), double the wait time — paint cures slowly when the air is wet. Don't trust 'dry to touch' as the signal for recoating; follow the can.
How much does a professional painter charge to paint a room?
Professional painters charge $350–$800 to paint a standard bedroom, including labor, paint, and cleanup. Painters typically price at $2–$6 per square foot of wall surface, with higher rates for high ceilings, detailed trim, or color changes requiring multiple coats. A handyman charges $200–$500 for the same room. Your DIY cost is $60–$180 depending on paint quality. Find a [handyman near you](/handyman-services) if you'd rather not do the prep work.
Your skills deserve to be seen.
Join handymen who use HandymanCan to get found by local clients — completely free.
No credit card. No catch. Takes 5 minutes.
Related Articles
How to Unclog a Drain: The Safe Order of Operations (2026)
Unclog a kitchen, bathroom, or shower drain without chemicals in most cases. Plunger, baking soda, snake, P-trap — plus the drain cleaner safety rules the bottle doesn't mention.
How to Patch a Hole in Drywall: Small, Medium, and Fist-Sized Fixes
Patch any drywall hole — from nail pops to a doorknob-sized crater — in under 2 hours. The right method for each hole size, the tools that matter, and how to make the patch invisible after paint.
How to Install Laminate Flooring: A Realistic Weekend DIY Guide
Install laminate flooring yourself in 1-2 days for a 200 sq ft room. Subfloor prep, underlayment, click-lock planking, expansion gaps, and trim reinstall — plus what to check before you buy for indoor air safety.